Wednesday, July 2, 2014

Custom T Shirt with Lawn Fawn and Xyron

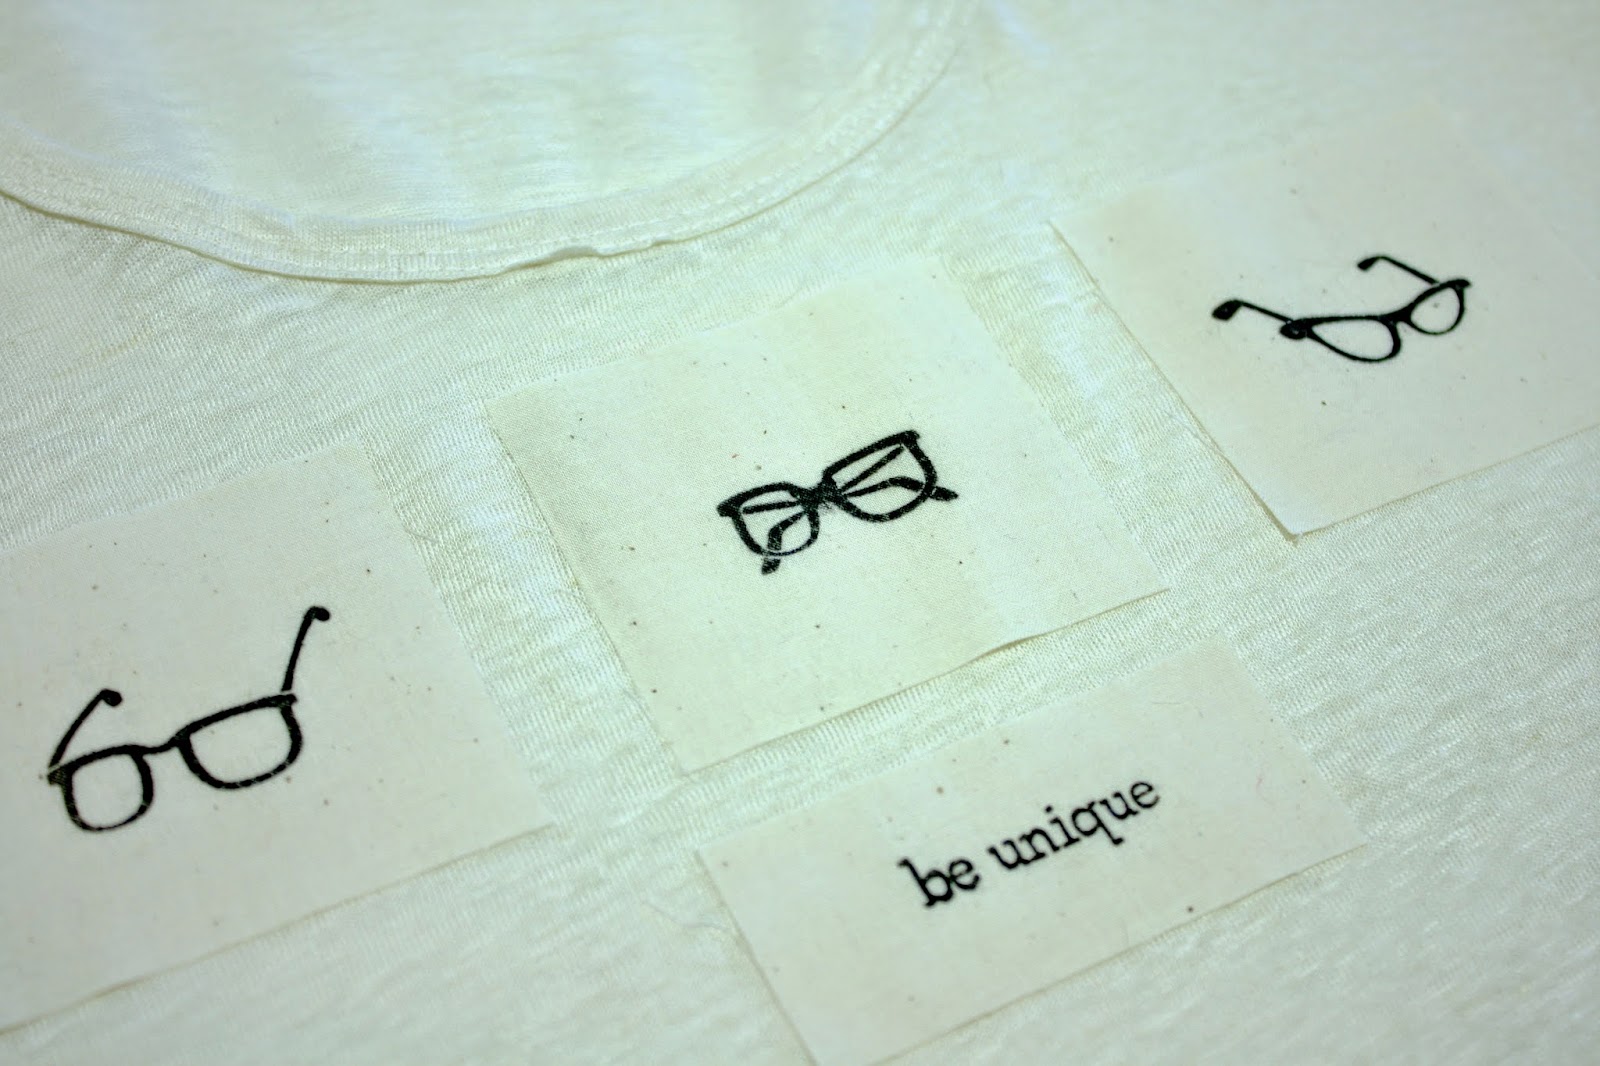
 Sometimes I love a stamp so much I just want to wear it! I love these set of Eyeglass Stamps from Lawn Fawn (Clear to See), they are so me (with my glasses and all!) But to stamp directly onto a shirt can be a little daunting, you only get one shot to get it right. Since I am a little sketchy in my stamping I came up with a great technique using muslin and a Xyron Tape Runner. For this project you will need a shirt, some plain pre shrunk cotton fabric or muslin, some Lawn Fawn Stamps, Colorbox Crafters Inks, Xyron Tape Runner and a seeing machine or needle and thread.
Let's get started!
{Start with your base shirt- really any shirt will do except extreme stretch knits, this is a poly blend.}
{Next grab a piece of muslin and make your stamps using the Crafter's Ink- make sure you leave enough around each stamp to cut into a square (or any other shape)- Go ahead and do multiples, this is the test stage! Then pick your cleanest ones and cut them out}
{You can use pinking shears if you don't want them to ravel, but I like that reveled look!- Very important- Crafters Ink needs to be heat set with your iron to become permanent so press them off for 20-30 seconds}

{Now grab your Xyron Tape Runner and run tape on the backside of your appliqués along each side but not totally to the edge. Believe it or not I have found tape runners to work great on fabric- you can sew through the adhesive, it doesn't gum up your needle, and it doesn't show through when your done!}

{ Now VERY IMPORTANT! Put your shirt on, THEN stick your appliqués to your shirt! Why? Because you want to make sure they are placed right, especially in the chest areas if you know what I mean. You don't want to do all this work and find out your appliqués are hiding under your breasts or on crooked}
{Now go to your machine and stitch around- you can use a straight stitch or play with all them fancy ones you never use- play with thread color- or hand stitch with some embroidery thread would be super cute too!}
{So cute! Who says stamps are just for paper!}
I hope you will try out this simple technique and start wearing your favorite stamps!
-Denise

Sunday, June 22, 2014

Something Tattered Pan Pastel Technique with Colorbox Pigment Inks


Hi everyone, so I am working on conquering my fear of stamping- I love stamps and have quite the collection- but that's where it tends to stop. I collect and admire them but don't use them as much. I think my fear is imperfection- but I think some imperfection is what gives stamps their character- so I am getting over it! I am getting over that fear by really challenging myself by learning new techniques and them applying them to my favorite stamps. Today we are going to do a little pan pastel effect using Gelatos. Here is the finished project and at the end my technique video!


SUPPLIES:
Canson Watercolor Paper
Canson Linen Paper

Saturday, June 21, 2014

June 21st 2014, Me at 45!

So I started a tradition of taking a picture of myself in my craft room on my birthday. And here is big #45. At 43 I was not playing derby yet, and 44 I was- and little did I know 4 days after taking that picture I would be in ER getting my ankle put back together. And today- I am back playing derby in a round robin scrimmage. Right now the things that consume me are derby, crafting, work, and caring for my Mom and her hubby who both are battling illnesses. My life is happy and content. My hubby and I have a pretty good thing going here...
Me at 44:

Me at 43:


Saturday, June 14, 2014

*Giveaway Alert* Come and see what I made this empty box of Brie into @ the Petaloo Bl


Stop by the Petaloo Blog to see what I created upcycling this Brie Box and enter to win a prize package from Quick Quotes and Petaloo! Today ... we continue our fun Blog Hop featuring "Calypso" and "Serendipity"paper collections from Quick Quotes along with the Burlap & Textured flower collections from Petaloo!!

Thursday, June 5, 2014

Stamping and Izink -ing Today on Clearsnaps Blog!

So I am in sewing crafters mode right now so I love it when I can combine a paper technique with a sewing project- see it here at Clearsnap!


Sunday, May 11, 2014

Adding Simple Elegance to your Projects with DCWV and Xyron

Okay, so I have been known to "over-do" a project or two in my day. Honestly I have paper craft projects that have $100 or more of supplies in them. But then again, that was at a different time when I created "competitively" LOL! Today I have progressed in my crafting, or rather digressed. I am in a keep it simple mode. Simple doesn't have to be boring or plain. Simple can be elegant. That is the overall theme that I kept in mind as I created this Photo Keepsake box using Die Cuts with a View Hey Sailor Stack and my favorite Xyron adhesives. This stack can be purchased just about anywhere form Michaels to Joanns and online. I love it's cream and Navy colors with just a touch of gold. So classic. Now I could have gotten all crazy and added--- oh seashells, burlap, coral, gold stars, pearls, netting, and the kitchen sink! Believe me these were all things I considered at one point, but taking my favorite elements and, in the famous Tim Gunns words, "used them thoughtfully" I came up with a beautiful, simple and elegant project. Here are some ideas for creating yours:
{I used Graphic 45s Book Box as my base, then sprayed it with Heidi Swapps Color Shine Spray in Gold}

{I kept it simple on the cover using a Jolees Boutique sticker and three small dried Starfish}

{I used some of DCWV corrugated Cardstock to back up my focal piece}

{I created the accordion using Canson cardstock and the Xyron Mega Runner. I cut 3 panel 1/2 inch wider than the size I wanted, and one at the size- scored the bigger pieces and just adhered the folded tabs to each piece}

{The outside cover and inside were all pre cut and run through the Xyron 5 Inch Create A Sticker}

{I used some burlap and this cool little mermaid I found in my stash. A good way to keep it elegant is to limit the colors you use. I used neutral tan and creams, with navy and gold. Thats it!}

{My favorite part ended up this gold striped interior! I make each strip a little longer than it needs to be. Then I fit it in and press it into the corners using a bone folder- take it out, flatten and run through my Xyron 2.5 Inch Create A Sticker. No gaps in the corners!}

{I just loved this gold and cream paper so wanted to make sure you got a good look at it!}

The DCWV Hey Sailor Stack has these already sized up and ready! I just cut out the 6 panels form the sheet, used one for the cover, and the rest for the accordion fold- I cut the accordion slightly bigger. The black spots will be for this summers beach pics}


{A few other tricks- to attach my twine, I hot glue it onto a strip of glue then hid it with a fatback pearl}

{To close off the box, I glued on a seashell, then used my Gold Twine from The Twinery to close it- and that great vintage pearl drop was just icing on the cake!}
I hope you will make yourself a keepsake photo box for this summer too- would love to see them! Email me at inmyblueroomdesigns@gmail.com with your projects pics so I can show them off on my blog!
http://dcwvinc.blogspot.com/2014/02/we-love-hey-sailor.html

-Denise

Thursday, May 1, 2014

Custom Stationary for a gift (or yourself!) with Xyron and Paper Smooches


Okay so I stole this idea from my Auntie Sharron. I had given her a bunch of paper scraps and she said she was using them to make stationary for some of her friends and parishoners. I thought, what a great gift idea- don't just give a card, give them cards for them to give. I wanted to keep mine super clean and simple. My Paper Smooches Streamers Stamps were perfect for this project so I built it around them. I have always loved wax seals, but after a few failed attempts a using crayons to make mine I came up with idea to use some glittery hot glue to make my own Faux Wax Seals. And how do I give Faux Wax Seals as a gift? Xyron sticker maker to the rescue! Here are some pics- but if you wan to see how I made them step by step just follow me on over to Snapguide and I will show you!

Check out How to Make Custom Stationary for a Gift by Denise Hahn on Snapguide.


Supplies:
White Cardstock
Punches- hole, circle and corner