For some reason right now all my friends are having babies, so I was very lucky to get this amazing Hello Baby collection from
Simple Stories, and
May Arts ribbon too!? Yes please! My first thought was mini album, but I really wanted my friend Angelica to have something to put little treasures, mementos and ephemera in. That's where the Treasure Box idea came from. I already had the simple wood box- but the inside, I wanted some little dividers-so I will show you how to make "guts" with your own box and
Xyron adhesives. I have also added lots of tips for making your box and ideas of what to put in it. Enjoy!
{I started by measuring all of the sides I want to cover and then misusing .25 inch off so some of the wood showed through. I ran them through my Create A Sticker Max. Don't forget to burnish the back of your cardstock for maximum adhesion. I lined the outer lid with May Arts Ribbon by using my Xyron Mega Runner with .25 inch tape in it. Then coat the whole thing in glossy Mod Podge. I want this box to last for a long time, so the Mod Podge acts as a sealer and protectant}
{to make the "guts" I trimmed chipboard. I measured to the top lid of the box, and the inner length and width. You want a perfect fit- so cut a little bigger and trim to size. No chipboard? How about a cereal box?}
{Start with the longer pieces. Cut the paper same length and 2 times the height-plus an inch. My guts were 1.5 inches high, so I cut the paper 4 inches high (1.5x2=3+1=4)}
{score down the center, if you don't have a score pal you can just fold half over}
{Now take your tape runner, and attache to the inside fold, then put adhesive on other side and fold over the chipboard}
{Now you have that extra little half inch hanging over each side, just make a fold by bending to each side then folding out flat. I Missed taking a picture of this after it was done, but if you look down two photos you are creating the flaps that will attach these pieces to the bottom of the box}
{Now repeat with the shorted ones, only don't make the extra for the flaps- so on my 1.5 inch guts I cut 3 inch strips- repeat above steps to adhere the paper}
{now play with them and decide where you want them- mark lightly with a pencil where you want to cut the slits}
{Take a small hole punch, or eyelet punch like mine and punch at the marks at least half way through the gut (you must go hallway or a little more-less than that they won't sit flush}
{After I punch the hole I cut into it- this is to make a slightly wider slit than if you just made a single cut- if you don't make room for the layers of paper and chipboard it won't lay nicely}
{So like this!}
{ Now do the short sides- but CAREFUL! See my finger tips? That should be the side you DO NOT cut into}
{Now I wanted this to be super sturdy, and I also needed a little forgiveness so I used some liquid glue. Glue your large pieces with the flaps first, then drop in your smaller ones. I decided afterwards I wanted a larger spaces I just trimmed one of my guts shorter}
{Now take some white glue and make a drop at the top of each non front facing slot (to hide the glue), run your finger down it. This little dab of glue will make your guts super strong}
{Now let the fun begin! I wanted to keep the outside simple and durables I just added the beautiful piece of wired May Arts Ribbon}
{added some crystal flowers for a little sparkle}
{TIP: the loose ends I folded under and glued down to the box to keep the bow in place and prevent raveling}
{A little vintage button to help open the lid. TIP: when using Mod Podge, the box lid can get sticky and not open easily- just take some sandpaper to the inside lid and that should take care of it}
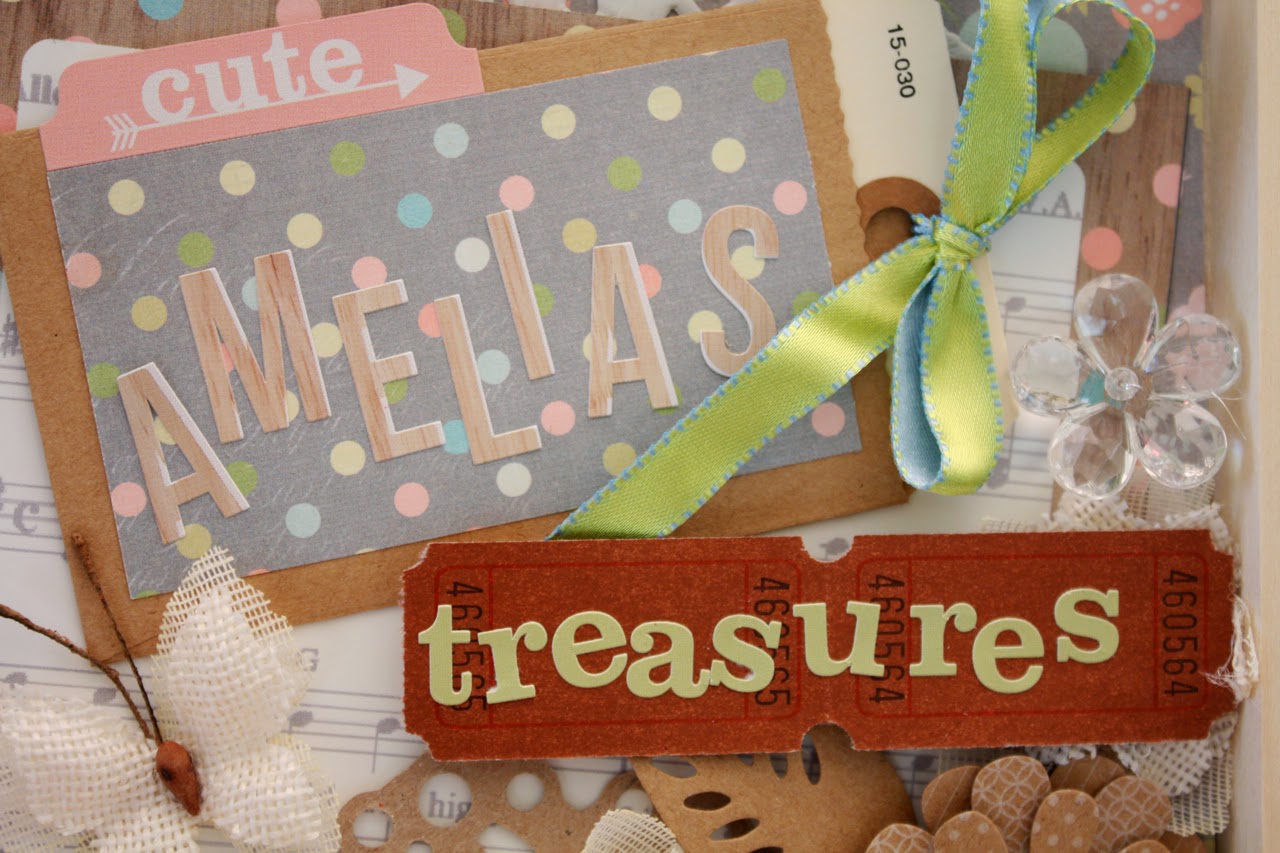
{Treasures! I used: a mini craft bag, doily, vintage tickets, Maya Road Flowers, Petaloo Flowers, May Arts Ribbon and Simple Stories Hello Baby stickers}
{In the "empty" treasure box I put a little vending machine prize container, glass vial, a dolly perm rod, and some mini clothes pins. I can imagine her adding- baby teeth, locks of hair, her hospital band, photos.... written memories}
I made a little mini board with some cork and push pins, some kindergarten line paper}
{I made a little Monthly Mini book for her instagram pics of baby Amelia}
{here is a close up of some of the trinkets}
{I love this May Arts ribbon "Handmade with Love" for the book!}
{pretty pleased with how this came out and I REALLY hope when Amelia is older her Mom can take it out and show her all of her 1st year baby treasures}
Hopping along? Please visit
and
Supply list:
Petaloo Textured Elements Burlap Blossoms Ivory
Maya Road Kraft Flowers
Box and Cork paper- Michael's
Mod Podge Glossy Lustre