Showing posts with label May Arts. Show all posts

Thursday, July 17, 2014

Xyron, May Arts and Simple Stories Blog Hop- Baby's Treasure B


For some reason right now all my friends are having babies, so I was very lucky to get this amazing Hello Baby collection from Simple Stories, and May Arts ribbon too!? Yes please! My first thought was mini album, but I really wanted my friend Angelica to have something to put little treasures, mementos and ephemera in. That's where the Treasure Box idea came from. I already had the simple wood box- but the inside, I wanted some little dividers-so I will show you how to make "guts" with your own box and Xyron adhesives. I have also added lots of tips for making your box and ideas of what to put in it. Enjoy!
{I started by measuring all of the sides I want to cover and then misusing .25 inch off so some of the wood showed through. I ran them through my Create A Sticker Max. Don't forget to burnish the back of your cardstock for maximum adhesion.  I lined the outer lid with May Arts Ribbon by using my Xyron Mega Runner with .25 inch tape in it. Then coat the whole thing in glossy Mod Podge. I want this box to last for a long time, so the Mod Podge acts as a sealer and protectant}

{to make the "guts" I trimmed chipboard. I measured to the top lid of the box, and the inner length and width. You want a perfect fit- so cut a little bigger and trim to size. No chipboard? How about a cereal box?}

{Start with the longer pieces. Cut the paper same length and 2 times the height-plus an inch. My guts were 1.5 inches high, so I cut the paper 4 inches high (1.5x2=3+1=4)}

{score down the center, if you don't have a score pal you can just fold half over}

{Now take your tape runner, and attache to the inside fold, then put adhesive on other side and fold over the chipboard}

{Now you have that extra little half inch hanging over each side, just make a fold by bending to each side then folding out flat. I Missed taking a picture of this after it was done, but if you look down two photos you are creating the flaps that will attach these pieces to the bottom of the box}

{Now repeat with the shorted ones, only don't make the extra for the flaps- so on my 1.5 inch guts I cut 3 inch strips- repeat above steps to adhere the paper}

{now play with them and decide where you want them- mark lightly with a pencil where you want to cut the slits}

{Take a small hole punch, or eyelet punch like mine and punch at the marks at least half way through the gut (you must go hallway or a little more-less than that they won't sit flush}

{After I punch the hole I cut into it- this is to make a slightly wider slit than if you just made a single cut- if you don't make room for the layers of paper and chipboard it won't lay nicely}

{So like this!}

{ Now do the short sides- but CAREFUL! See my finger tips? That should be the side you DO NOT cut into}

{Now I wanted this to be super sturdy, and I also needed a little forgiveness so I used some liquid glue. Glue your large pieces with the flaps first, then drop in your smaller ones. I decided afterwards I wanted a larger spaces I just trimmed one of my guts shorter}

{Now take some white glue and make a drop at the top of each non front facing slot (to hide the glue), run your finger down it. This little dab of glue will make your guts super strong}

{Now let the fun begin! I wanted to keep the outside simple and durables I just added the beautiful piece of wired May Arts Ribbon}

{added some crystal flowers for a little sparkle}


{TIP: the loose ends I folded under and glued down to the box to keep the bow in place and prevent raveling}

{A little vintage button to help open the lid. TIP: when using Mod Podge, the box lid can get sticky and not open easily- just take some sandpaper to the inside lid and that should take care of it}

{Treasures! I used: a mini craft bag, doily, vintage tickets, Maya Road Flowers, Petaloo Flowers, May Arts Ribbon and Simple Stories Hello Baby stickers}


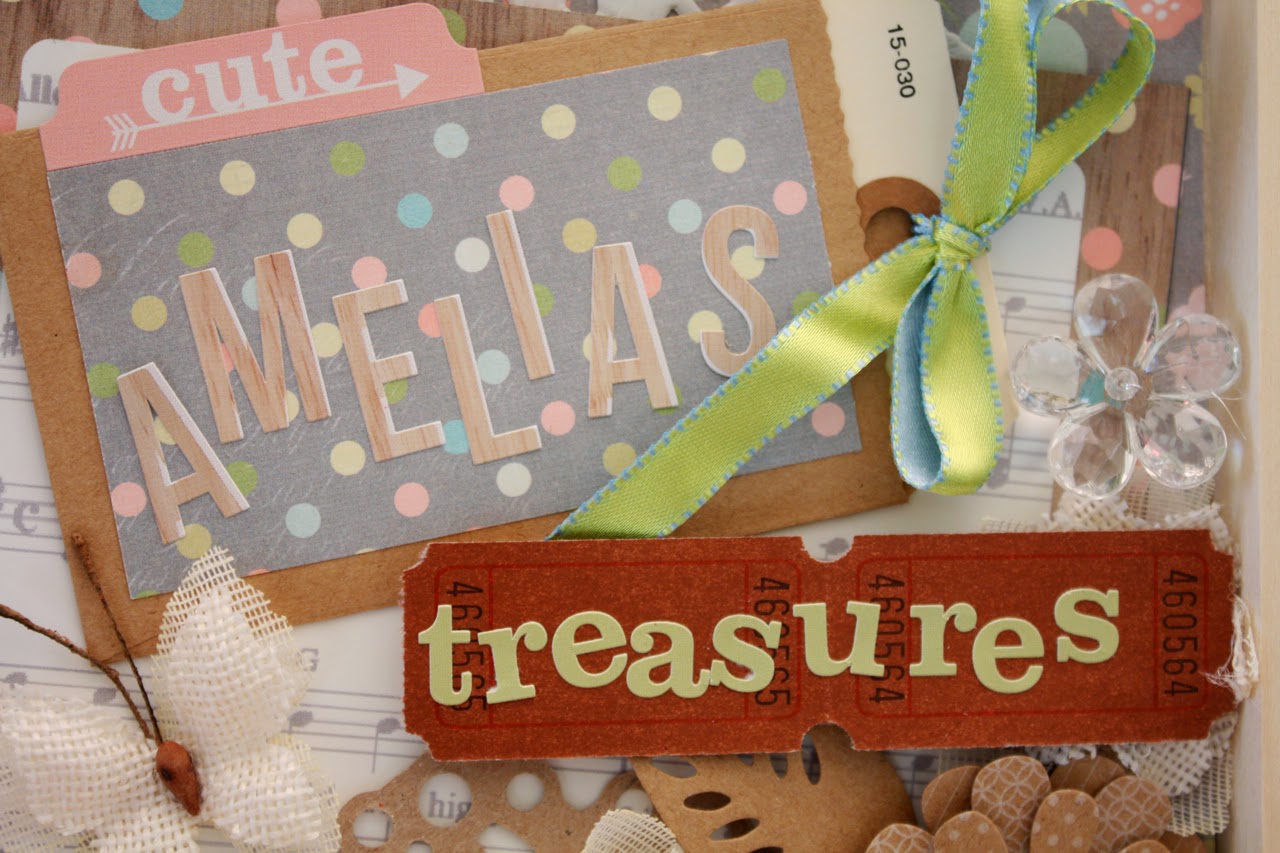


{In the "empty" treasure box I put a little vending machine prize container, glass vial, a dolly perm rod, and some mini clothes pins. I can imagine her adding- baby teeth, locks of hair, her hospital band, photos.... written memories}

I made a little mini board with some cork and push pins, some kindergarten line paper}

{I made a little Monthly Mini book for her instagram pics of baby Amelia}

{here is a close up of some of the trinkets}

{I love this May Arts ribbon "Handmade with Love" for the book!}


{pretty pleased with how this came out and I REALLY hope when Amelia is older her Mom can take it out and show her all of her 1st year baby treasures}
Hopping along? Please visit 
and
Supply list:
Petaloo Textured Elements Burlap Blossoms Ivory
Maya Road Kraft Flowers
Box and Cork paper- Michael's
Mod Podge Glossy Lustre


Tuesday, June 25, 2013

Summer Fun with May Arts, Little Yellow Bicycle and Xyron


Today we are making some fun! How about hosting a crafty get together and create some fun accordion Mini Albums? That's just where I got the inspiration for these projects. My girlfriends and I have a monthly crafty get together- we are actually doing a round robin swap and these get togethers are where we "hand off" our swap to the next gal. We usually have a fun make and take we do and this month my dear friend Erin came up with a little bunting project. Now we made ours with lace and tulle-but mine was made of my stash of May Arts ribbon! My mini was made with Little Yellow Bicycle's Poppy Collection  and I put it all together with my Xyron Mega Runner and Create a Sticker 2.5. The album is SUPER easy to make and I included a quick video tutorial on how to make it! Have fun!
{here are my goodies!}

{Erin used her Mason jars for lemonade-I chose to use it as a vase. I have to admit I love anything in a Mason jar}

{The great thing about this little bunting is that I can reuse my ribbon at anytime! Just un-loop and press the wrinkles out! Win-Win!}

{These little books are so fun to make and great for little pictures!}

{so fun to open, it explodes with color and fun!}

{I like to keep it a little simple on the inside, espicially where the folds are}

{Here is one half- I used my Xyron Create A Sticker 2.5 inch to run my ribbon through}

{Don't you just love that oversized ric-rac from May Arts??}

{And the back can be done too!}
Now let's make and album!


Supplies-
Accordion Book:

Jelly Jar Vase:

Bunting:
1 yard jute twine


Thursday, August 16, 2012

Momenta Clearsnap Blog Hop!

Okay, so I am usually a vintage, shabby, grungy type girl so when I get the chance to work with something outside my comfort zone I get both excited and fearful at the same time! This month I got some fun Momenta papers to play with. Luckily I do love my teals and pinks.... but what to make? This morning I work up and did my normal routine of having coffee and watching my favorite shows that my husband refuses to watch on the DVR. Today it was American Pickers. Mike had picked up this little box and when he opened it, it just splayed out in all different directions and had little pieces of artwork on it. He called it a Victorian Exploding Picture Box....or more formally Etui Boxes. So that's it! That's what I am making! It was so easy, and the Momenta papers are already cut in graduating sizes. Here is my little explosion of fun and color using Momenta Papers and Clearsnap! Dont forget to leave a comment for the chance to win a $75 Prize package from them!


{OMG who would have thought that this colorful display would pop out of that box!}

{my Disneyland pics of me and my daughter worked perfecty}

{I love how the base of the ballerina doubles as the center of the flower stamp}

{There is all kinds of room for little pics. I printed these using the Proof selection in my photo editing software...it makes one sheet of tiny little pics}

{another side}

{one more!}

{you dont have to put a picture on every page-here is used some washi tape and a paper rose and some Want3Scrap bling}


{I think I will give this to my daughter as a gift, I know she wil cherish it}


Instructions:
tear out 4 pages of Momenta Paper 1 each- 8x8, 7.5x7.5, 7x7, 6.5x6.5
Score as follows:
8x8 score in at 2.5 inches on all sides
7.5x7.5 score in at 2.25 inches on all sides
7x7  score in at 2 inches on all sides
6.5x6.5 score in at 1.75 inches
*Basically you want the center portion to be a 3x3 square

For the lid tear out 1- 5x5 piece and score at 15/16th of an inch- and easier way to think of that is an inch minus 1/16th-you want the lid a tiny bit bigger than your box 3 1/16x 3 1/16

Then cut out the diagonal corners of all 4 wall pieces so that you have big CROSS shapes left- ink with  your favorite Clearsnap ink (I used Stephanie Barnards newArchival Ink in Very Berry)  and deco cut the edges then glue them one a top the other

For the lid- just cut two slits on each side, then fold them into your box lid and glue down

Then embellish any way you choose. I used Want2Scrap bling, some little flowers, Colorbox stickers, We R Memory Keepers Stamp, May Arts velvet ric-rac and some pom poms for some upholstery trim I had in my stash.

I glittered my ballerina base using Glue Gloss and Clearsnap Glitter-Glue Gloss is great for those hard to glue spaces!

This was such a fun and easy project I hope you will try it! 

Next up for you hoppers!
Denise Hahn: http://inmyblueroom.blogspot.com/ <------- YOU ARE HERE!


Leave a comment on each blog in the Hop to be entered to win a prize pack of Clearsnap and Momenta goodies valued at $75!! Use the rafflecopter widget on the Clearsnap Blog foir extra entries by liking our Facebook Page etc.

Happy Hopping!"