Showing posts with label Smooch Spritz. Show all posts

Monday, March 18, 2013

Guest Designer on Petaloo Blog today!

Come and see what I did with Petaloos Gorgeous Darjeeling Tea stained flowers and Graphic 45 Place in Time embellishments. I WOULD love your comments on their blog- check it out they have some amazing projects and products. If you love Graphic 45 these flowers are a must!


Friday, December 21, 2012

Vintage Christmas Gift Bag Tutorial Featuring Graphic 45 and Scrapbook Adhesives by 3L

Okay, so it has come this, Gift Card mode! When did it happen that we stopped buying gifts and just went straight for the gift card section?  I guess since the invention of Gift Cards! Don't get me wrong, I love a good gift card myself, but in a way, they can seem a bit impersonal right? Well no longer, I have a great way to add that special touch to any gift card: Put it in an amazing handmade gift bag! It's the gift that says: I love you so much I went to the trouble to HAND MAKE this gift bag just for you! Now here's your Starbucks gift card... enjoy!
Start by finding a sturdy box about the size you want to make your bag-to be able to use on 12x12 sheet of scrapbook paper make sure the entire diameter is no more than 11 inches around. Measure its length (my box 5 inches tall) , then measure its depth (my box 1.75 inches wide) and then add the length and depth+ = 6.75 inches by 12 inches will be what I cut.

Line your box up in the middle and "dummy" fold one of the sides up. Dummy folding is to just fold up against the edge lightly so you can see where to fold, but without making a hard crease

Dummy fold each crease you need one by one, and then make the hard crease with a bone folder-making sure your paper is even- after you do all four creases take your Scrapbook Adhesives Crafty Power Tape to glue down the seam-keep the box INSIDE!

Then fold down like a present- your paper will line up perfectly and you will have the 1.75 inch to fold over- again use Scrapbook Adhesives Crafty Power Tape- This stuff has an amazingly strong hold which you will need

Next I took my Imaginarium Designs Chipboard Frame and inked it with Clearsnap Cats Eye in Gold-set aside to dry

Cut out a piece of Graphic 45 Christmas Emporium Paper, and highlight with some glitter. I used Clearsnap glitter and a Martha Stewart Fine Tip Glue pen.

And now for my little trick! This chipboard frame is very delicate, and I used Scrapbook Adhesives tiniest 3D foam dots, but they still showed ever so slightly! So I went ahead and put them on.....

Then I flipped it over, hit it with some gold glitter, and pressed the glitter onto the showing part of the foam square with a brush and voila, they disappeared with a sparkle! 

I then attached my cardstock piece to the frame, then added another layer of foam dots


To embellish, I added a sticker from Jolees French General Labels, some upholstery trim to the top (with hot glue) and then some Petaloo Flowers

Now, take the box out! You leave it in so you have a nice support to embellish your box with

Pinch in the tops, to give it that "Ima gift bag" look

Hot glue on some Handles. Wire ribbon works best.

Now make some custom filler. Roll up some vintage paper the long way

and with your scissor trim off approximately .25 in slices. But mix it up-it looks cooler (I mean more handmade) if they aren't all uniform

Loosely fluff up the cut pieces and then hit with some Ginger Ale Smooch Spritz to give it a little shine

Then scrunch it up in a tiny ball, then fluff and repeat. Use to fill your gift bag.
{Oh yeah add a little gift tag while your at it! G45 gives you a bunch to choose from}


{can you even tell the 3D squares are showing through??}

{here is another variation. I added another 1.75 inches then just trimmed top with pinking shears, punched to holes and added trim and a tag}

{and anther variation, I added 2 inches and then trimmed with a Fiskars border punch. Then made my holes on the sides, ran wired ribbon and knotted. Then curled the ribbon off to the sides.}
If you didn't come here from the G45 blog head on over for more pics:


Saturday, October 6, 2012

World Cardmaking Day with Clearsnap


Okay so I didn't realize there was a whole contest and everything, but there actually is! Hop over the World Cardmaking Day website and there is still a chance to enter and win an amazing prize package that is filled with some of my favorite Clearsnap Products and lots of other goodies! AND Clearsnap is giving away and a $50 Smooch prize package, so make sure you pop over there and comment on their blog here: Clearsnap Products ! So in honor of the day I created a two cards using the same super easy sketch. Both of these cards are made using Recollections Corrugated Cardboard cards from Michaels as a base and have a little ribbon on top so the card can be hung up to enjoy.

And the Clearsnap Creative Team is a hopping today so check out everyones creations:

Denise Hahn http://inmyblueroom.blogspot.com/ <------ you are here!


{The original color of the cardboard base is the same as the card beneath, I  found that they take Clearsnaps Stephanie Barnards Sprays very well!. I sprayed it with black then Smooched it up with some Carrot Cake Smooch Spritz}


{Here is a close up of the effect}

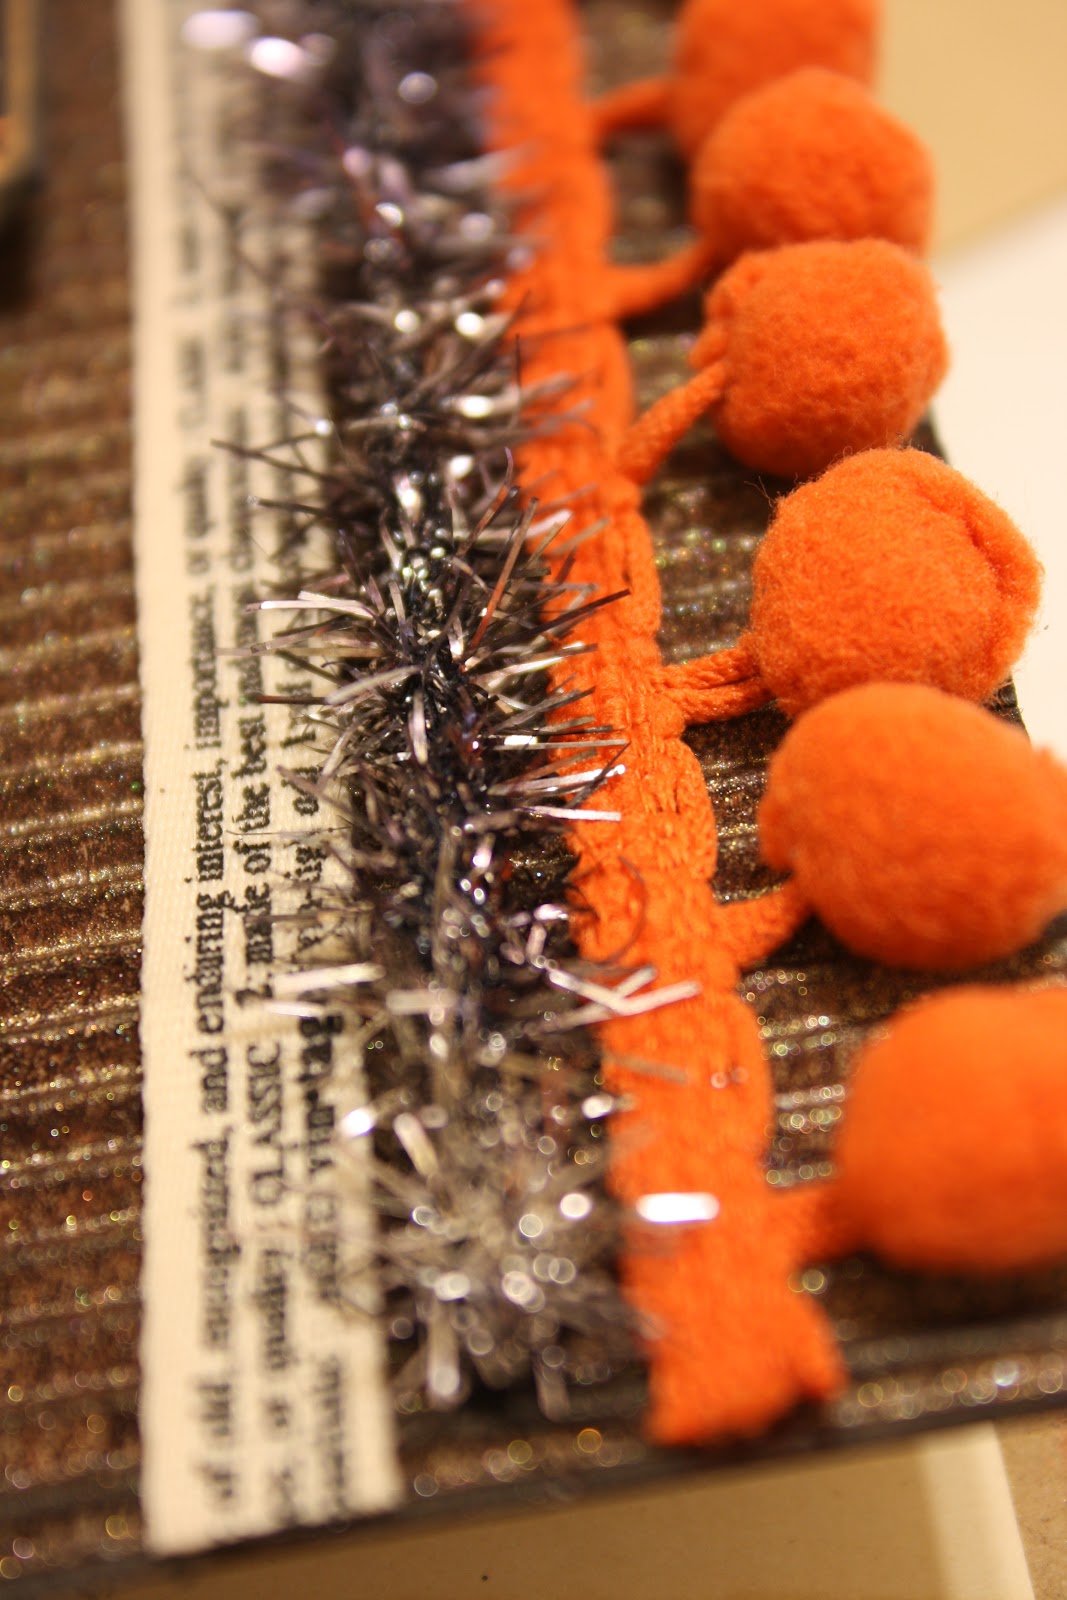
{I used three different trims, a ribbon, some glitter wire garland that I also tinted with Clearsnap Spray ink and heat set, then some little pom-pom trim from Joanns}

{I used Glue gloss to fill in some of the details on the Graphic 45 Cardstock}

{On the inside I used some vintage book paper, and then made a space for writing. Of course I edged everything with Colorbox Chalk in Licorice. You can also see the inside where I tied the ribbon and left little tails for added interior detail}

{ I just love the little added touches to any handmade card like this little skull brad from Close to my Heart}

{I am in love with Graphic 45 Happy Haunting, I used their Cardstock, Chipboard, and their Printed Type Ribbon}

Next up is the same sketch made with Primas Almanac Collection

{For this one I painted the corrugated card base with some white acrylic paint and then edged it using Colorbox Chalk in Dusty Rose}


{For the embellishment I cut out one of Primas Clocks and added apiece of raw silk ribbon to the center}

{And again, two flat borders and a dimensional one}

{Detail of the background}


{Interior, again I used a piece of vintage book paper and dressed it up with papers from Primas Collection}


{So the reason I put the little ribbon hanger on my cards, is for THIS reason. They become a little decoration that can be hung up and appreciated!}
Denise!