


{I love how the image transfer using Craft Attitude looks so spooky}

{I was going to have my door hanger say "welcome" but since my twins looked so spooky I decided "beware vintage ghosts" was more appropriate!}

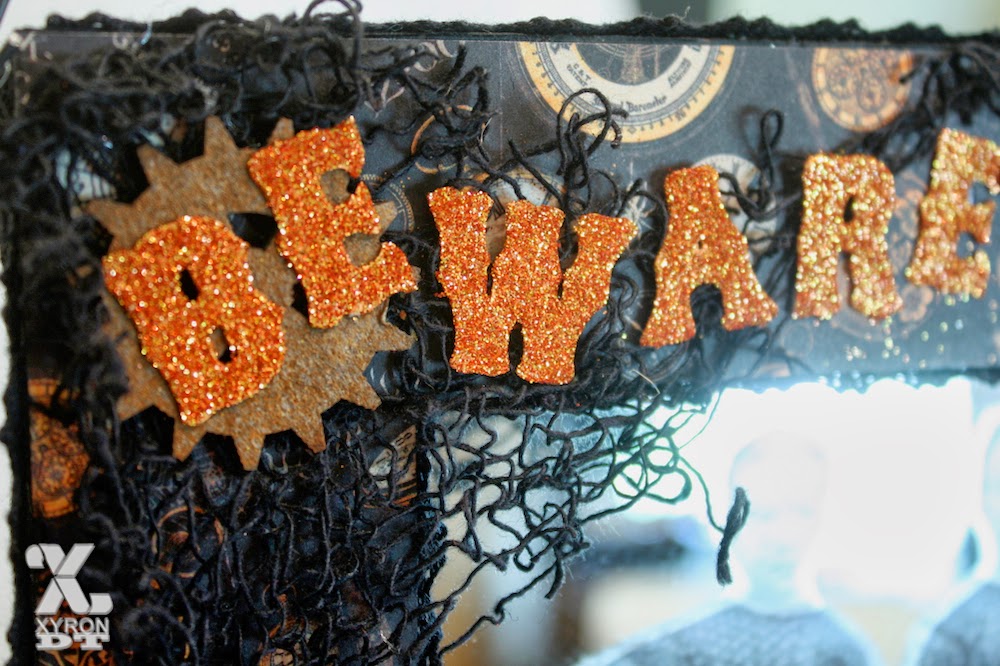
{I used my new Xyron 3 Inch Sticker Maker to glitter my letters- just run them upside down in the sticker maker, then sprinkle with glitter- perfect and mess free (almost!)}

{I used a combination of Petaloos Darjeeling Flowers in Blacks, Creams, Paprika and Greys to embellish the hanger. I used Xyrons new Adhesive Dots to adhere them}
{I also used some of Petaloos Color Me Crazy Chipboard gears. I gave them a spray with Clearsnaps Dye Ink Spritzers in 3 different colors to get the old rusty look}

{I love transferring onto mirror! This mirror had some scratches on it, but I think it worked for the theme. Using the Xyron Creative Station assures no adhesive residue shows through- and I am going to show you how to do it! So here's a quick video on the process and see my supply list for everything you need to make your own!
SUPPLIES:
Xyron:
Petaloo:
Wild Blossoms x9 Paprika
Mini Mix x8 Cream
Clearsnap/Colorbox:
Dye Ink Spritzers-Seattle Sky, Mudslide
Other:
1/2 Inch Foam Core Black
Lace Trim May Arts
Burlap- Joann Fabric
Black netting-Halloween Store
Fonts- Dafont.com Saddlebags and Big Top converted to .svg and cut with Xyron Wishblade

Did you make the letters yourself or did you just glitter them yourself?
ReplyDeleteI made AND glitered them. I have a die cut machine- a Xyron Wishblade. I cut out, then run thorough the Xyron sticker maker upside down, then sprinkle on the glitter! Easy!
DeleteSpooky cute. Thanks for sharing the steps.
ReplyDeleteSo spooky! Great tip. Thanks.
ReplyDeleteOh, my gosh! That is such a better way to do letters than buying sets of letters and ending up with a ton of leftovers or not enough of the letters I need, LOL! All the gadgets out there, I have so much to learn! But love this project!
ReplyDeleteThank you Denise! You have pulled my back end out of the proverbial fire with this one. If you check my FB timeline last night was a crafting disaster. So I chucked that project after 2 days work.But this will work perfect with the photo I have. It's got to be special because it's for a a very special friend. Thank you so so much.
ReplyDeleteAnd for what's it worth I had used my 5" Xyron for the original project which was going on a mirror!
DeleteThis turned out so cute and it really looks ghosty. My poor old xyron is sooo old and worn out that I have to pull the paper out the back as the handle won't roll it. Boy I have gotten my money's worth out of the thing and have really put it through the mill (putting things through it that I shouldn't, but, hey it worked). Really gonna have to break down a purchase a new one because I can't do without it!! Enuf of my jabbering, you door hanger is adorable.
ReplyDeleteOMG! this is fabulous and your tutorial is great. What f un project
ReplyDeleteoh my!! that is amazing!
ReplyDeleteWow! What a Picture! You really added some spookiness in it. Great. Thank you!
ReplyDeleteLOVE LOVE LOVE this! I have a few mirrors that I have been holding on to for just the right project! This is it! I am going to try this in the morning!!! TFS!
ReplyDelete