Okay so I know it's a little EARLY for New Years, but this project can be converted into so many party hats.
Xyron challenged us to take one of their older projects (
Find the project inspiration HERE), and re-new them using our own creative take. There was a LOT of creative freedom given, all we had to do was be inspired by the older project- and lo and behold- one of my favorite things to make was right there begging to be made-over, a hat! So here it is and all the step by step instructions to create it:
you will need:
Plastic headband base (available at craft stores)
.25 in Foam Core
Crepe Paper
Marker
Scissors
Xacto knife
craft wire
hot glue gun
A.
B.
Okay so pardon the hairy arms (my husbands!), but you will need help for this first step- YOU MUST bend open the headband before you measure- if you dont, then headband won't open enough to be worn- so put it on your head-get a feel for how open it is, then trace the base circle (A)- then open it BIGGER and trace your top line onto the foam core as pictured (B)
add two end lines connecting the top and bottom line, and cut out with Xacto knife
use this piece as a template to cut our your glitter card stock
run your glitter piece through the Creative station and attach it to the foam core base
place a top your headband and mark the beginning and end point
run a bead of hot glue between the lines
quickly attach base, spreading out the headband to fit- hold until cools
use your glue stick around the edges of hat and attach your trim-set aside to dry
I used my Wishblade to cut out 7 various shaped stars and ran them through the Creative Station
I then sprinkled with glitter onto the sticky side-press down to make sure it adheres
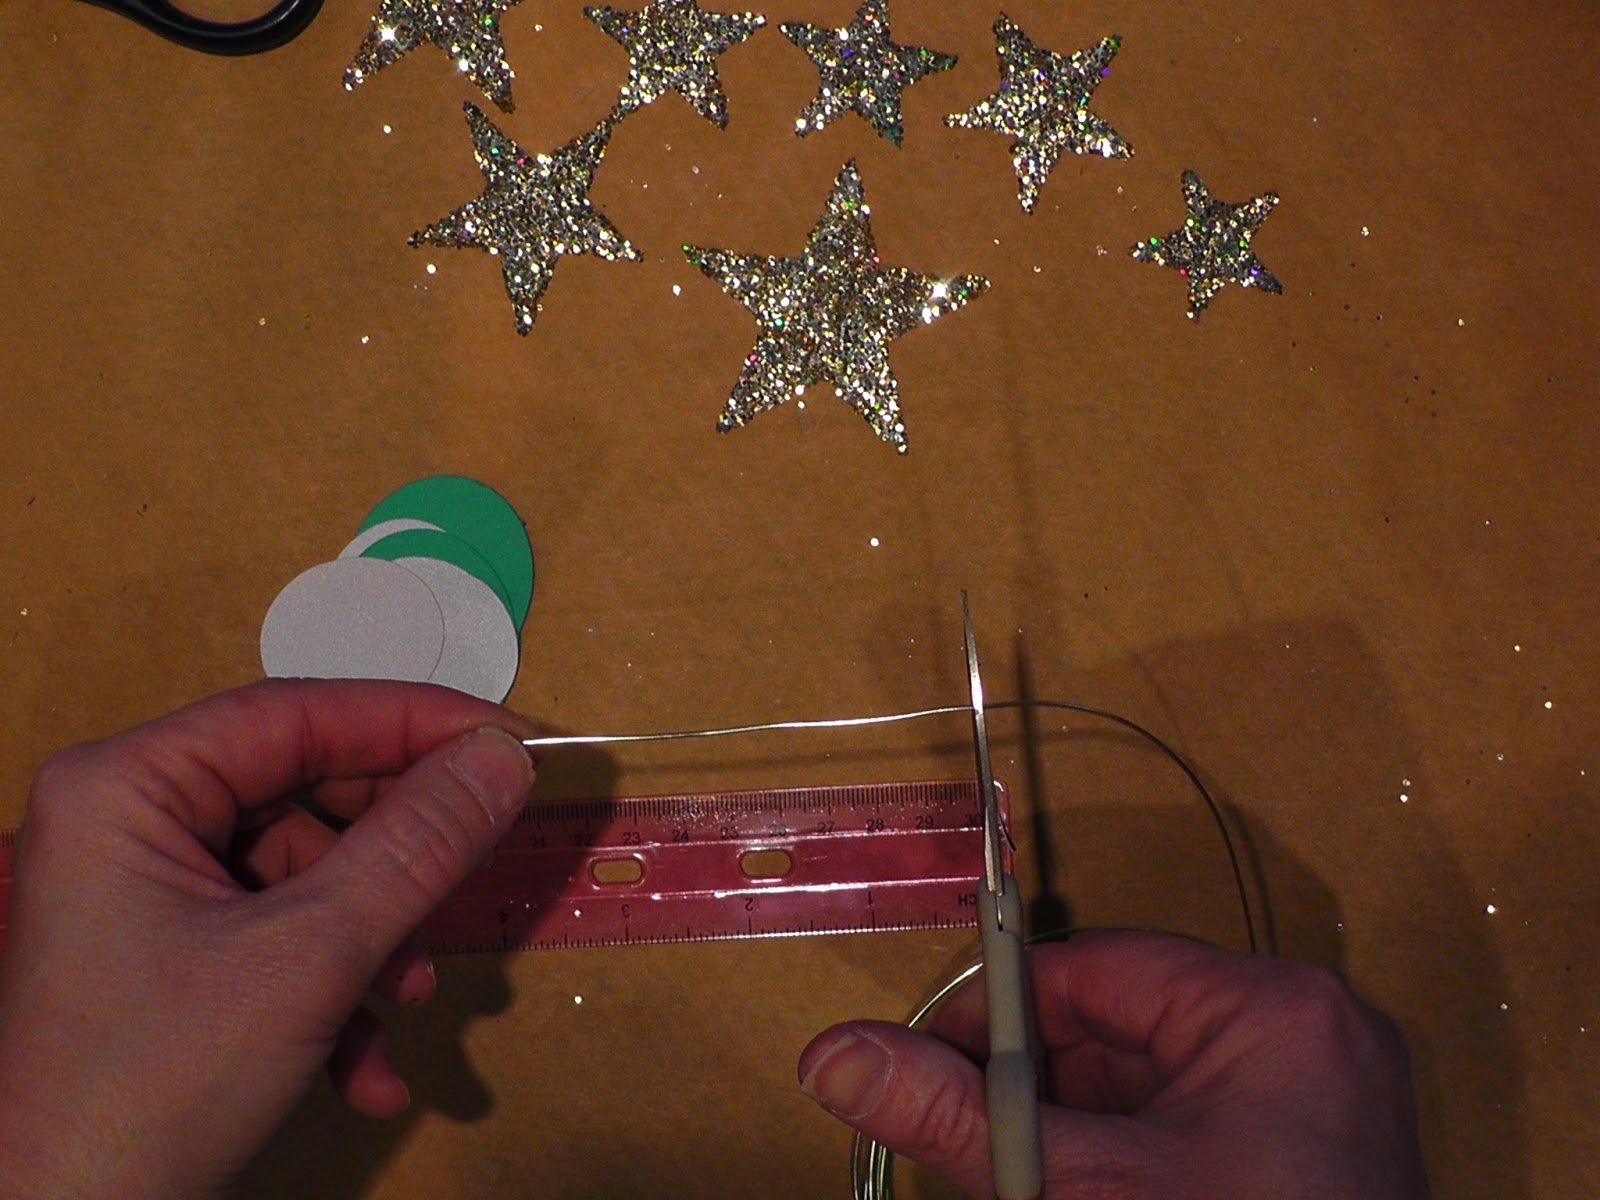
trim 4 pieces of craft wire about 3 inches long
I cut out 8 ovals with my Wishblade- you can cut out any shape you want- but 4 of them should be scaled smaller- so 4 large shapes-4 smaller shapes- run them through the Creative Station
A

B

C

D


D
Take your first largest Shape and stick a piece of wire to the base-sticky side up (A) then take your smaller piece and attach it sticky side down (B) Press firmly down encasing the wire-yes you will have sticky still showing (C) Dip the stick edge in glitter and press down. Attach your YEAR numeral stickers and repeat for each number (D)
Accordion fold 12 inches of crepe paper and then trim 1/2 inch off (you may need to trim more or less depending on size of hat)
run glue stick on base and attach crepe. I also attached an extra piece of trim to cover the base-using hot glue
Now for a really cool trick- I sued my Mega tape runner and some left over backing for my creative station, to make my own foam squares. Just cut a strip of foam core, run Mega runner on one side-stick to foam core and cover with leftover Xyron backing. Flip over and do the same on the other side. Voila! now just cut to size as needed.
attach foam squares to back of stars and attach to headband
insert year numbers into top of hat
make some extra curliques with the craft wire and insert into foam- you may want to add some hot glue to the base to keep in place.
Ta da! You can even save this one and just change out the year!
Hope you have fun with the Old to New Project!
Please visit the Xyron blog for more old to new projects@